Friday, April 29, 2011

. . . Teacher Appreciation Download . . .

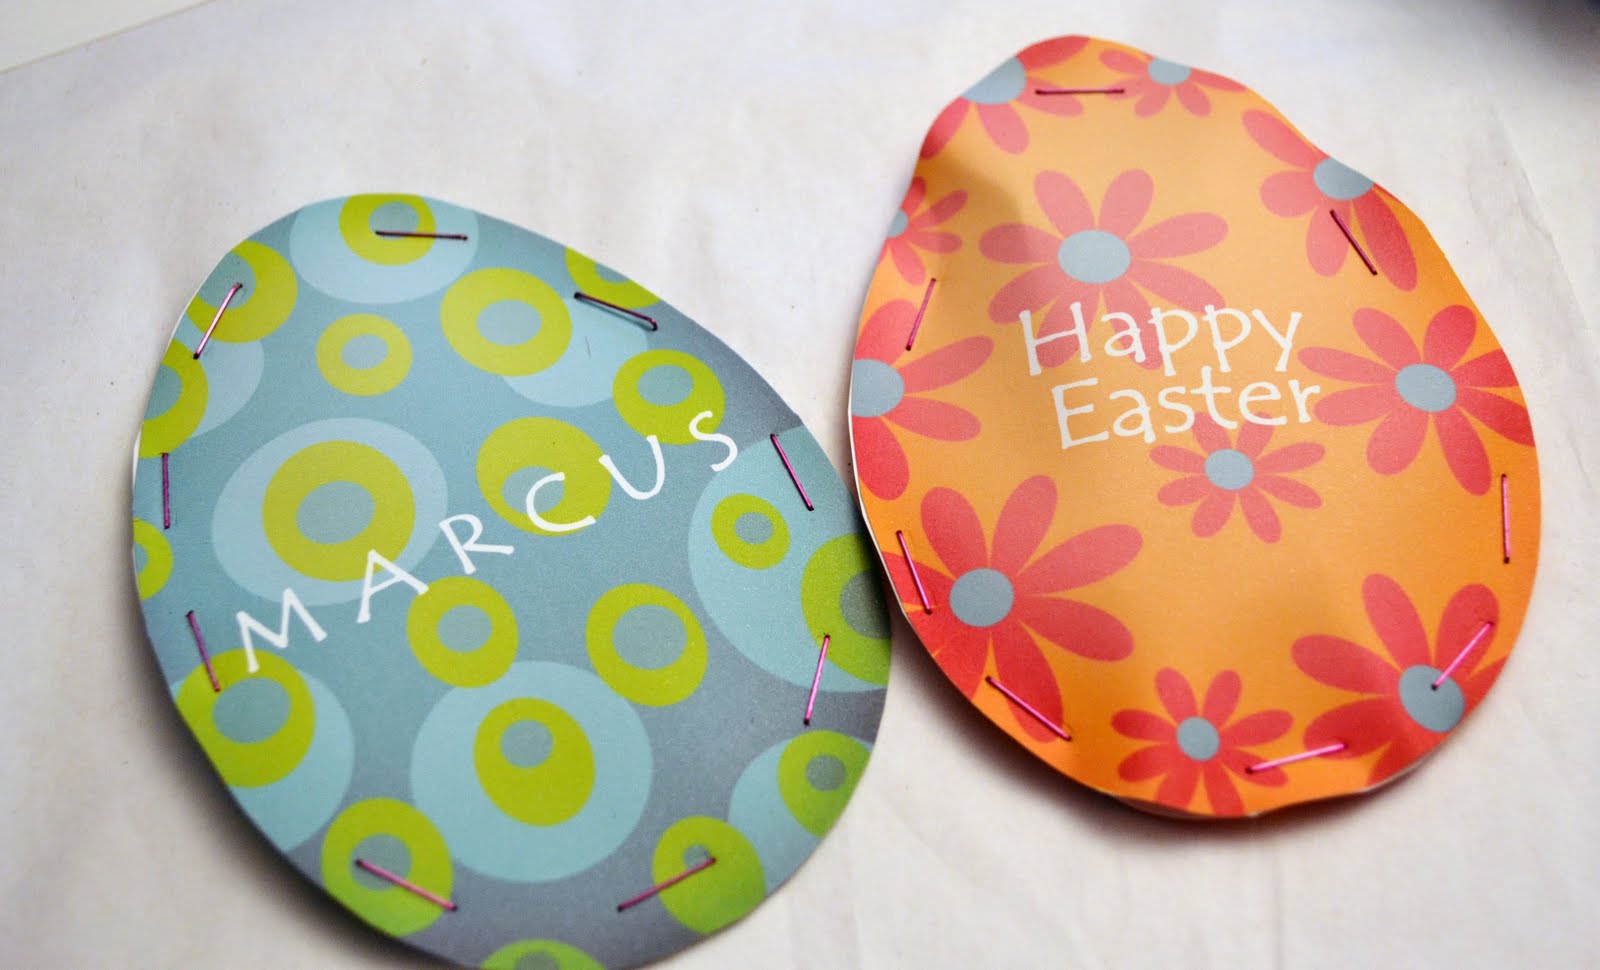
Teacher Appreciation Week is May 2nd to May 6th and what better way to make your childs teacher know how "Fortunate" you are to have them!  These are a super cute way to do a Teacher Gift and the best part is the Treat Topper is a FREE DOWNLOAD!  All you need are a few fortune cookies, some snack sized ziploc bags, staples, and the printed treat topper download.
••••••••••••••••
Download HERE
Be sure to share the link so others can enjoy it too!


If you do these with your kids I'd love to hear from you!

Linking Here:
http://www.504main.com/
http://www.justagirlblog.com/
http://romantichome.blogspot.com/
http://www.findingfabulousblog.com/
http://tidymom.net/
http://www.fingerprintsonthefridge.com/
http://www.chiconashoestringdecorating.blogspot.com/
http://thirtyhandmadedays.com/
http://ladybug-blessings.com/
http://tatertotsandjello.blogspot.com/
http://www.whipperberry.com/
http://www.soyouthinkyourecrafty.com/
http://simplydesigning.blogspot.com/
http://www.wmcraftgoodies.blogspot.com/
http://serenitynow4amanda.blogspot.com/
http://www.somewhatsimple.com/2011/04/sys-blog-link-party-with-jamie-lynn-photography/
http://delightfulorder.blogspot.com/
http://www.bedifferentactnormal.com/
http://funkyjunkinteriors.blogspot.com/
http://youngancrafty.blogspot.com/
http://nv-craftenvy.blogspot.com/
http://lollyjaneboutique.blogspot.com/
http://www.iheartnaptime.net/
http://www.bystephanielynn.com/
http://cherishedtreasures-terry.blogspot.com/

. . . Fun Friday Finds-Crowns . . .

In honor of the Royal Wedding (that I've been watching since 4AM this morning) I decided to make Fun Friday Finds all about Crowns!  I'm not royalty obsessed by any means but I love crowns.  This list is all made up of items you can purchase from Etsy.  It's so important to support the Handmade Industry and featuring great finds from unique shops is a great way to discover fun merchandise.


•••••••••••••••••••


• Crown and Initial Necklace @ Silver Wren
•  Crown Pillow @ Word Garden
•  Boy's Crown @  Jill Verbick
•  Keep Calm Pendant @  ERia Designs


•  Princess Party Invitation @ Itsy Bitsy Paper
•  Crown Sidewalk Chalk @ Sunshine and Sidewalks
•  Gold Crown Cookies @ Sweet Ambs
•  Crown Address Label @ Posh Girl Boutique


I hope you enjoy taking a peak at all these fabulous items. 

Thursday, April 28, 2011

. . . Personalized Recipe Cards . . .

For Easter my mom asked me to create Personalized Recipe Cards for her mother and mother in law.  I loved how they turned out so I had to create a set for me, my mom and my sister.  We are all very into cooking so it was the perfect gift!  I will be listing them for sale in my Etsy Shop very soon!  I'm trying to work through some new designs so watch for them to be listed soon.  In the meantime if you are interested in purchasing them please feel free to contact me at itsybitsypaper@yahoo.com

••••••••••


••••••••••


••••••••••


••••••••••


•••••••••••

Wednesday, April 27, 2011

. . . Pool Party Invitations . . .

Summer isn't complete without a Pool Party so I wanted to share my two newest Pool Party Invitation designs.  These would be perfect for any age and any pool themed party--End of the School Year Pool Party, Birthday Pary, Cookout and Pool Party etc.  They are now available in my Etsy Shop so order yours today!


Graphics by Great Graphics

Tuesday, April 26, 2011

. . . Cookie Time Tuesday . . .

White Chocolate Macademia Nut Cookies

My husband is a huge fan of Macademia Nuts and his favorite cookie has always been the White Chocolate Macademia Nut but I never make them.  I found this recipe over on For The Love Of Cooking Blog and knew I had to give it a try!  This just might be the new favorite recipe around here.  I say that almost every week but this recipe is a real WINNER!  It is moist and chewy and has a great thickness to it.  It doesn't go flat after being out of the oven which is nice for presentation!


Print Recipe HERE

You will need:
2 cups all-purpose flour
1/2 teaspoon baking soda
1/2 teaspoon salt
3/4 cup butter, melted
1 cup packed brown sugar
1/2 cup white sugar
1 egg
1 egg yolk
1 tablespoon vanilla extract
1 1/2 cups (chopped, if needed) macadamia nuts
2 cups white chocolate chips


• Gather your ingredients
• Beat Butter , Sugars and 1 Egg and 1 Egg yolk together
• Add the Flour Mixture to the butter mixture
• Mix well


• Add chopped Macadamia Nuts (I used my mini chopper to do them)
• Add the White Chocolate Chips
• Mix by hand instead of with a mixer
• Drop by tablespoonfuls onto a Parchment Paper lined cookie sheet


• Bake for 12 to 15 minutes (I found that 13 minutes was perfect in my oven)
• Let cool on the cookie sheet for about 5 minutes
• Move to a wire cooling rack to cool completely
• They are so chunky and moist


YUMMY!!

Monday, April 25, 2011

. . . Fuzzy Yarn Wreath . . .

I recently posted my Yarn Trees and now I am writing about Yarn Wreathes.  These projects with scrap yarns are so simple and look amazing!  I did all the yarn projects at the same time but the wreathes were Easter gifts so I couldn't put them on my blog until today.  You are going to want to drag out all of your yarn and a wreath form and make these beauties!  They all turn out so unique and FUN!  I love making them and for sure will make them again and again for gifts and for my door.

••••••••••
1. Choose the yarns you want and the wreath form size
2.  Cut strands of your yarn.  I found that using several yards at a time was more than enough, otherwise they got so tangled.
3.  Start wrapping the yarn around and around and around your wreath form.  The more yarns you have the farther the length will go.  In each one I have used at least 7 to 8 yarns and some up to 12 strands.
4.  You just keep wrapping the yarn around the form until it's completely covered.
5.  Stick a floral pin in the end and no one will ever see it.  You can get them at the craft stores and I showed them in my Yarn Trees post
6.  This is the wreath with artificial daisies on it
7.  Wrap your yarn around a florist pin and then stick it in your wreath form and start wrapping
8.  Keep wrapping the yarns around the form until you complete it
9.  I cut a thin piece of fleece and stuck it in the form on the back side so it works as a wreath hanger
10.  Now you can hang your wreath from any hook
11.I made fleece flowers with some yarn scraps in the center of each 
12.  Aren't these unique?
13.  This wreath was for my mom and I gathered up a selection of yarns I knew she'd like and cut them in long strands.
14.  Once I was finished wrapping the entire wreath I added the fleece flowers
15.  I used a small juice glass, a votive holder and a tea light holder to create three different sizes of circles
16.  I then laid them out in the color combo I wnated
17.  Put them on the florist pins from smallest to largest
18.  Start placing them on your wreath where you want them.  I just wanted a small cluster of them on the corner of the wreath.
19.  I wanted to add buttons to the center of my flowers so I used E6000 glue and an assortment of buttons
20.  Use a little dab of the adhesive for each button
21.  Place the button in the center of each "flower"
22.  Tada
23.  Really adds a great pop of color with the buttons
24.  This is another wreath with the button centers

25. This is another wreath I made using a different wreath form so it looks thicker.
26.  I added pearl hat pins to the center of each of these fleece flowers
27.  The four I made
28.  I gave these as gifts and they were hugely popular!

Linking up Here:

Sunday, April 24, 2011

. . . Happy Easter . . .

HAPPY
EASTER!!
 I thought I would share the Easter Card I created for my family this year.  I had a customer request an Easter Card and I liked the design I came up with so much I changed it just a little to work for my own family cards.


Saturday, April 23, 2011

. . . Paper Easter Eggs . . .

Normally the Bunny hides Easter Eggs that we have colored but this year we didn't get the colored eggs made so I needed something unique for our Egg Hunt.  I had seen several bloggers make Parchment Paper Hearts at Valentine's Day and fill them with candy so early this morning when I was brain storming something unique to use for the Egg Hunt I thought why not make Paper Eggs?  I used clipart from Tracy Ann Digital Art then personalized the eggs with "Happy Easter", "Marcus" or an "M" and then printed one sheet with the personalization and one sheet with just the eggs.  Cut them out and stapled them together leaving a space at the top to add my treats and then finished off stapling with colored staples and we have ourselves a unique twist to the traditional colored eggs.

Create your Easter Eggs out of cardstock.  You can print them like I did or you could just buy patterned stock and cut them out to look like Easter Eggs.

Cut your Eggs out and get ready to staple them together

Staple around the bottom edges first and leave an opening to insert your candy

Add your candy into the space you've left.  I used some chocolate bars, jelly beans, M&Ms, etc.  You could add coins or dollar bills or even a gift card into them as well.

Finish stapling all around the egg so no candy escapes

Aren't they cute?

For the candy that is loose like these mini M&Ms you will need to staple tighter together so they don't fall out any little holes

What kid or even adult wouldn't love having an Easter Egg Hunt with these cuties?


Have Fun!!

. . . Peeps Treat Toppers-Complete . . .

The Peeps Treat Topper Free Download has been so popular and I just want to say "THANK YOU" to all the wonderful ladies that have emailed me or left nice comments or even posted about Itsy Bitsy Paper's topper download.  I love doing freebies for you and having all the wonderful feedback makes me want to continue doing it. 

We did ours last weekend and have been handing them out all week to special "Peeps".  It's not too late to grab your download for your family and friends, Sunday School Classes, Babysitters, etc.  Super easy to do too and even the kiddos enjoy helping--or eating the Peeps as you go.


Download HERE

Friday, April 22, 2011

. . . Fun Friday Finds-Chalkboards . . .

I am loving the Chalkboard trend right now!  I wanted to feature some great items found over on Etsy...it's important to support the handmade industry so now and again I like to do a Fun Friday Finds based on sellers specializing in handmade merchandise.  I hope you will take a few minutes and stop by their shops and maybe even support them with a purchase.


••••••••••

1.  Chalkboard Pillow @ Red Vintage Home
2.  Chalkboard Lamp @ Wes Benn
3.  Chalkboard Greeting Card @ Shop Paper Scissors
4.  Chalkboard Necklace @ Silvia Chenault
5.  Chalkboard Buttons @ Gypsy Goods
6.  Chalkboard Hose Place Holders @ Houndstooth Designs
7.  Chalkboard Travel Mat @ Lil B Designs
8.  Mustache Chalkboard Vinyl @ Smeurer8

What is your favorite Chalkboard Item around your house?  Mine has to be my Chalkboard Platter--I love it!

Check out this great Chalkboard Linky Party
over on WhisperWood Cottage for some amazing ideas!!

Tuesday, April 19, 2011

. . . Cookie Time Tuesday-Forest Ranger Cookies . . .

Today's recipe is one of my favorites so far!  I am not a coconut eater but these cookies are so yummy.  I was inspired to make them after seeing that over on A Pretty Life In The Suburbs.  I did alter my recipe just a tad by adding chocolate chips.  I have also seen this recipe made with Rice Krispies and I saw a Peanut Butter based one as well.   These turned out so moist and chewy.  I would highly recommend this recipe!  Using colored coconut would add a great seasonal twist to it too.


Forest Ranger Cookies with Chocolate Chips

Print Recipe HERE

You will need:
1 cup butter or margarine
1 cup brown sugar
1 cup white sugar
2 eggs
1 tsp vanilla
2 cups flour
4 tsp baking powder
1 tsp baking soda
2 cups oats
2 cups coconut
2 cups cornflakes

1 cup mini chocolate chips
Gather up your ingredients
  

Mix sugars and butter or margarine together

Add your eggs one at a time


In a seperate bowl mix the flour, baking soda and baking powder together

In another bowl mix your cornflackes, oats, coconut and chocolate chips together

Mix your flour mixture and butter mixture together until well combined

Add your cornflake mixture to the combined dough and mix well

Roll dough into balls (about 1 to 2 inch balls works great) and place on a parchment lined cookie sheet

Flatten balls with a floured fork.  Don't over flatten the cookie dough

Once they are pressed down they are ready to bake. 


Bake for about 10 to 12 minutes.  I found that in my oven 11 minutes was perfect.

Let cool on cookie sheet for about 1 minute

Transfer cookies to a cooling rack to cool completely

Yummy in the tummy!


Linking here: