


If you follow me on Instagram (and you should!) you will know I have an obsession with Black and White stripes right now. I just got done painting bold stripes on my family room walls in black and white, buying candles in black and white stripes and now painting mason jars in black and white stripes. I'd say my obsession is alive and well!

I have tons of jars in my house and always keep a collection of spray paint on hand so for me this project was as easy as digging into my stash in the garage and setting up my spray paint station and having at it. If you don't keep these things around here is what you will need:
2 colors of Spray Paint in the colors of your choice
Mason Jars in the brand of your choice
Painter's Tape

First you will want to spray paint the entire jar white. I did 3 thin coats on my jars to cover them well. It doesn't have to be perfect since you will be distressing them after but make sure the jar is mostly covered and not see through anymore.
Once your base coat has dried completely you will need to tape off your stripes. I didn't do this by measuring because I didn't want them to be perfect but if you prefer perfection more power to you! My tape measure and I are on the outs after the stripe wall project so I figured imperfection was right up my alley on this project.
I taped off my stripes by starting right under the rim of the jar and then added a small piece of tape between the stripes to know how far down I wanted to go (just make sure you remove this piece of tape before you start painting your black). I got three stripes out of my jar using the basic painter's tape. I know I'm probably not explaining this step very clearly.
Once your lines are taped off go ahead and spray the entire jar black. Make sure you really seal the tape all around the edges before you start this step. The above photo is actually after I had already painted the black stripes but didn't seal the tape edges so the black got on my white paint a little. To fix this I just taped off the black stripes once they were dry and repainted the entire jar white and it worked perfectly to fix the imperfections and bleeds of black.
You
can decide if you want your mason jars with or without the "writing" on
them. I wanted mine to have the writing so it created a little more
interest but I've painted plenty that do not have the writing and they
still look great after they are distressed. It just depends on your
plans for them.
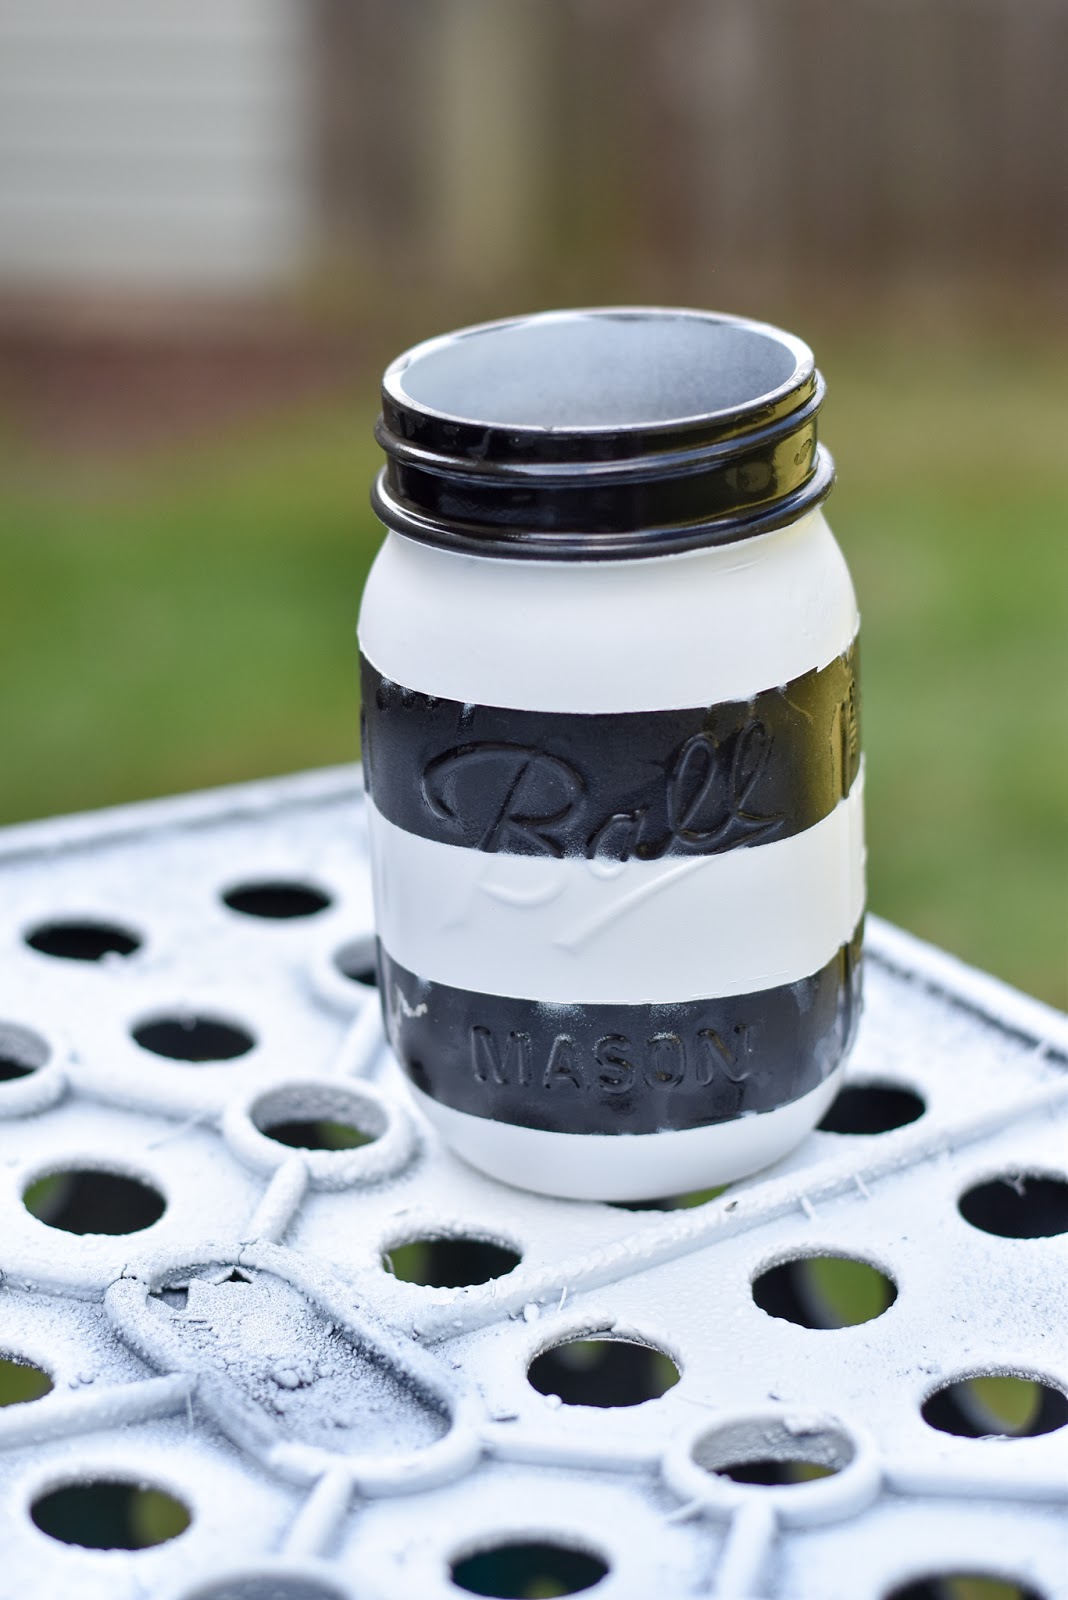
When everything has dried remove the tape. I found that letting my paint dry completely before removing the tape worked best. It is hard for me to be that patient but I made myself do other things so I wouldn't be itching to remove the tape too soon.

My Charley Girl had to oversee the painting project to make sure I was doing everything right. She is quite the supervisor!

Use a very fine grit sandpaper to sand the entire jar. I went a little heavier over the raised writing but then went softer over the rest of the jar so I didn't actually remove the paint.

As you can see the distressing masks all the imperfections anyway so don't worry about being perfect for this project.

If there are areas that didn't get as distressed as you wanted just keep going over them with sandpaper. I even had some actual chips in my jars but they just ended up adding to the look. I was worried at first because I figured I'd have to repaint but it worked out in the end and I left the chips.

I didn't paint lids for this project because I knew I was using my jars for flowers and I had black frog lids already. If you don't have those or are using them for something else that requires a lid just spray paint it.
*Frog lids are the wire lids that allow you to arrange flowers. Sometimes they sell them just as Frog Lid Inserts but the ones I have are the whole lid and they are already black so it's a win win situation!

I did three vases and added some flowers and a piece of ribbon to compliment the stripes.

Love an easy peasy spray paint project that actually turns out as well as I imagine it will!
These would be great to fill with candy and give for Halloween Treats to someone special as well! You could add a very cute Halloween tag and wrap the filled jar in clear cellophane and have fun and unique gift to give to teacher's or coworkers etc. So many uses for Mason Jars!


