Showing posts with label home decor. Show all posts

Friday, April 1, 2022

DIY Wood Bead Carrots

If you would like more ideas please follow along on Instagram!

I'm in full swing with spring crafting and I seem to have a thing for carrots this season!  Every year I feel like I get into a particular item and this year carrots are stealing my heart over an over.  This craft was fun and unique and so simple to do!

What you will need:
Orange Paint
Wood Beads in a variety of sizes
Wood Stain
Sand Paper
Twine
Ribbon
Cut Tag if you want to add one (watch video below of a great trick)
 
Start out by laying out your wood beads in graduating order from largest to smallest.  Once you have a "carrot" shape then put the beads on dowels and paint them orange.  Once my paint was dry I used my favorite little Micro Sander from Gator and lightly buffed each bead and then went over all of them with Dark Walnut wood stain to darken them just a bit.


After everything had dried I assembled my carrots by threading the beads on two strands of twine and tying a knot at the bottom making sure it was thick enough of a knot to prevent any beads from sliding off.  Once that was done I created twine tassels which I have been making for a long time but here is a great tutorial!  I then attached the twine tassel to the top of the carrots.  Once I had my three carrots assembled I took a strip of ribbon and tied it around the top and made a cute bow. 

As a bonus I did add a cute little tag I created using my Silhouette Cameo with some heat transfer vinyl.  I made the tag from a small piece of a paint stick and rounded the corners.  Easy as pie to do homemade tags that way!
A very simple project indeed!  I think they are fun and unique without a doubt but they add a nice pop of color to my decor.  I also love that you can make them your own but what shade of orange you use and what ribbon you want and even what color twine you choose!  Hope you make a set too!

Some supplies you might need:

Tuesday, March 15, 2022

Wooden Bunny DIY

 If you aren't following along on Instagram what are you even doing?😂 Please join me so you can see my latest DIY, craft, recipes and more!  @paperpaintandpine

I was in Target and saw these adorable wood bunnies for just $5.00 a piece and they had three styles so I immediately started thinking of all the ways I could make them adorable but settled on neutral paint and absolutely love them!  You could certainly do so much more than just paint them a solid color but for me I wanted them to just blend in and be simple and sweet.  Such a fun and easy little makeover!

I simply sanded each bunny lightly to smooth the edges and then chose three colors of paint which ended up being white, light gray and charcoal gray.  I let them dry then sanded them lightly so reveal some of the wood and then coated them in Special Walnut wood stain to give them an aged look.  I then painted some little beads to coordinate with the bunny colors and then put those on a strand of twine and tied it around each bunny and then added a cute little carrot that came from floral picks at Michael's.

Aren't they just the cutest little things!?
So easy to make them over and they are still available at Target!  
If you want to purchase them click HERE.

I also have found several items on Amazon that would work for this project as well:
Another wooden bunny option

Thursday, June 2, 2016

DIY Numbered Tiles

I think the Target Dollar Spot is my all time favorite spot to shop.  It's like I walk in those doors and there are big spot lights over it just calling me to the mother ship!  You can just find such great things in that little area of heaven!  I picked up a bunch of these little wooden plank plaques that were part of the nautical collection knowing I'd have no real use for them being blue and pine but I did know I'd be using them for something fun and this project couldn't have made me happier!
This is the little plaque I purchased from the dollar spot.  Originally it had a white rope threaded through the holes at the top but I knew I'd be changing that to basic twine so I cut that off before I painted them. 
I gave my three plaques a few coats of white spray paint but you could easily use a chalk paint or any brush on paint just as easily.
 I coated mine pretty well but wasn't terribly worried if I missed a spot because I knew I was going to sand them and then add dark stain to antique them so it wasn't a big deal if they weren't perfect.
 I picked my numbers up at Michael's for $1.49 each and even used a coupon so that made them a bit cheaper.
 I gave the numbers a few coats of spray paint making sure to cover each side and then let them dry well.
Please ignore the terrible lighting in this photo but as you can see I have sanded the bright white paint down quite a bit and then added Espresso wood stain lightly over the whole thing trying to get into the creases of the slats and around the edges.  Once that was dry I lightly sanded it off so it wasn't as dark and then used furniture wax to coat the number and the board.  It gives it such a nice silky smooth finish when it's waxed.  I then used E6000 adhesive on my number and attached it to the board.  I let this dry for awhile before hanging them.
 To hang them I used just basic twine and threaded it through the holes and tied knots off on the front of the boards to hold it in place.  The important thing if you are doing more than one of these is to make sure each piece of twine is the same size for each board!  It makes it look pretty weird if one board has a ton of twine and another board has a little twine so measuring is your friend here!  I used just basic nails but may switch to a more decorative nail to hang them.  I haven't decided.  As you can see I also made sure to rub the sides of the boards with some of the dark stain as well so it all matched.
 You really can't get much easier than this little project and could do all sorts of different things with these boards.


I hope you will make something fun with these little plaques too!

Saturday, June 27, 2015

. . . Family Room Tour . . .

I don't think I've ever done a room tour on my blog but our family room is my favorite room in the house so I thought I'd share!  I wanted it to be very colorful because I knew it would be where we spent most of our time and when I think of color I think of fun!  We never use our living room so this is the central gathering spot where we all spend our time.  The walls haven't changed color in a long time but we've recently updated the carpet and furniture and some of the decor.  I'm always changing something or I get bored.

I love that this room is so open and bright with the morning light coming in the windows!  
 
The artwork on the walls is one of my favorite things and came from Target years ago.

 This bowling pin was a thrift store find that I'm obsessed with.  I passed it up a couple times thinking it was probably a silly purchase but couldn't get it out of my head.  I went back to the shop a third time and it was still there so I figured it must be a sign that it was meant to be mine!  My dad saw it and just loved it so I got one for him for Father's Day and he couldn't be happier!

When we moved into our house this 2 story family room really intimidated me because I had no idea how to fill the wall space without spending a fortune on huge artwork.  That was before Pinterest became popular so it was a challenge I had to work on without the help of my favorite addiction.  How did we survive without Pinterest?  I found a couple cool plates and picked them up and then when we finished painting the idea came to me and I started hitting the clearance sales, garage sales and even gathering a few from my grandmother's basement.  I had these shelves from when I was a kid and just painted them to coordinate with the room and then my mom and I spent hours laying out the design and hanging the plates.  It was a great way to decorate this big wall on a budget but still bring in a lot of color.  These plates have received many compliments over the years and still remain something I love about this room.
 
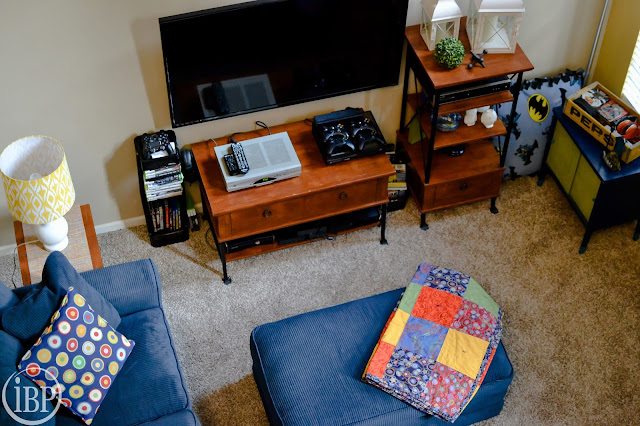
There is something I just love about blue and yellow so it only seems right that I would pick out blue furniture.  This is from La-Z-Boy and we have been very pleased with it and how well it cleans up.  The colorful throw pillows were made by my mom and the quilt was made by my grandmother.

 This chest needs painted again but this was a curbside find which my son and husband are appalled by but we sure have gotten serious use out of it.  Inside we keep tons of video games and game accessories so it isn't right out in the open.  The pepsi crate I picked up at a flea market after begging the man to sell it to me.  He was using it as a display but I loved it and wasn't taking no for an answer so finally I wore him down.  I have made it into a charging station of sorts because of the open slats at the bottom.  I just run our cords up through the slats and plug in our devices.  It also serves as storage for my son's stuff.


This little table was another thrift store find.  I think I'm going to paint it but I haven't decided on what color so for now it is staying white.  
 
The window treatments were made by my grandmother and I.  I can't get enough of circles so when I saw that fabric I knew it would be perfect for this colorful room.

Don't mind the outlet in this photo other than to know it's a USB outlet we recently put in several of the rooms of our house and we are completely obsessed with them!  Easy to do and they work great for just plugging in your devices and still have 2 outlets free.

To add some more pops of color I painted blocks of color on two of the walls as you can see here.  Clearly I should have straightened up those candles that are in the stars.  Just pretend you didn't notice how crooked they are.
 
My husband works in aviation so when my mom found these airplane book ends she immediately bought them for him.  They don't have any books in them now but they go well with the transportation artwork above the fireplace.

This is my favorite little corner.  I curl up in the corner of the loveseat and watch tv or read and everyone knows that is mom's spot.  Maggie thought she needed in the picture too and who am I to say no to her?

These lamps were a recent find at Target.  I had been wanting to brighten up the lamps in this room but just hadn't found the right look so when I was cruising Target I found these and knew they were perfect.  It took 4 Target stores to finally get both of them but it was worth the running around trying to find them.

This small wall is at the bottom of our steps and divides up the kitchen and dining room from the family room.  I picked up the plates at Target, the Love artwork from Christmas Tree Shop and the Flower artwork from Hobby Lobby.
 
This ottoman opens up for storage and we keep extra pillows and blankets in it for sleepovers my son has.  It also serves as Charley's favorite spot to hang out when we are in here.

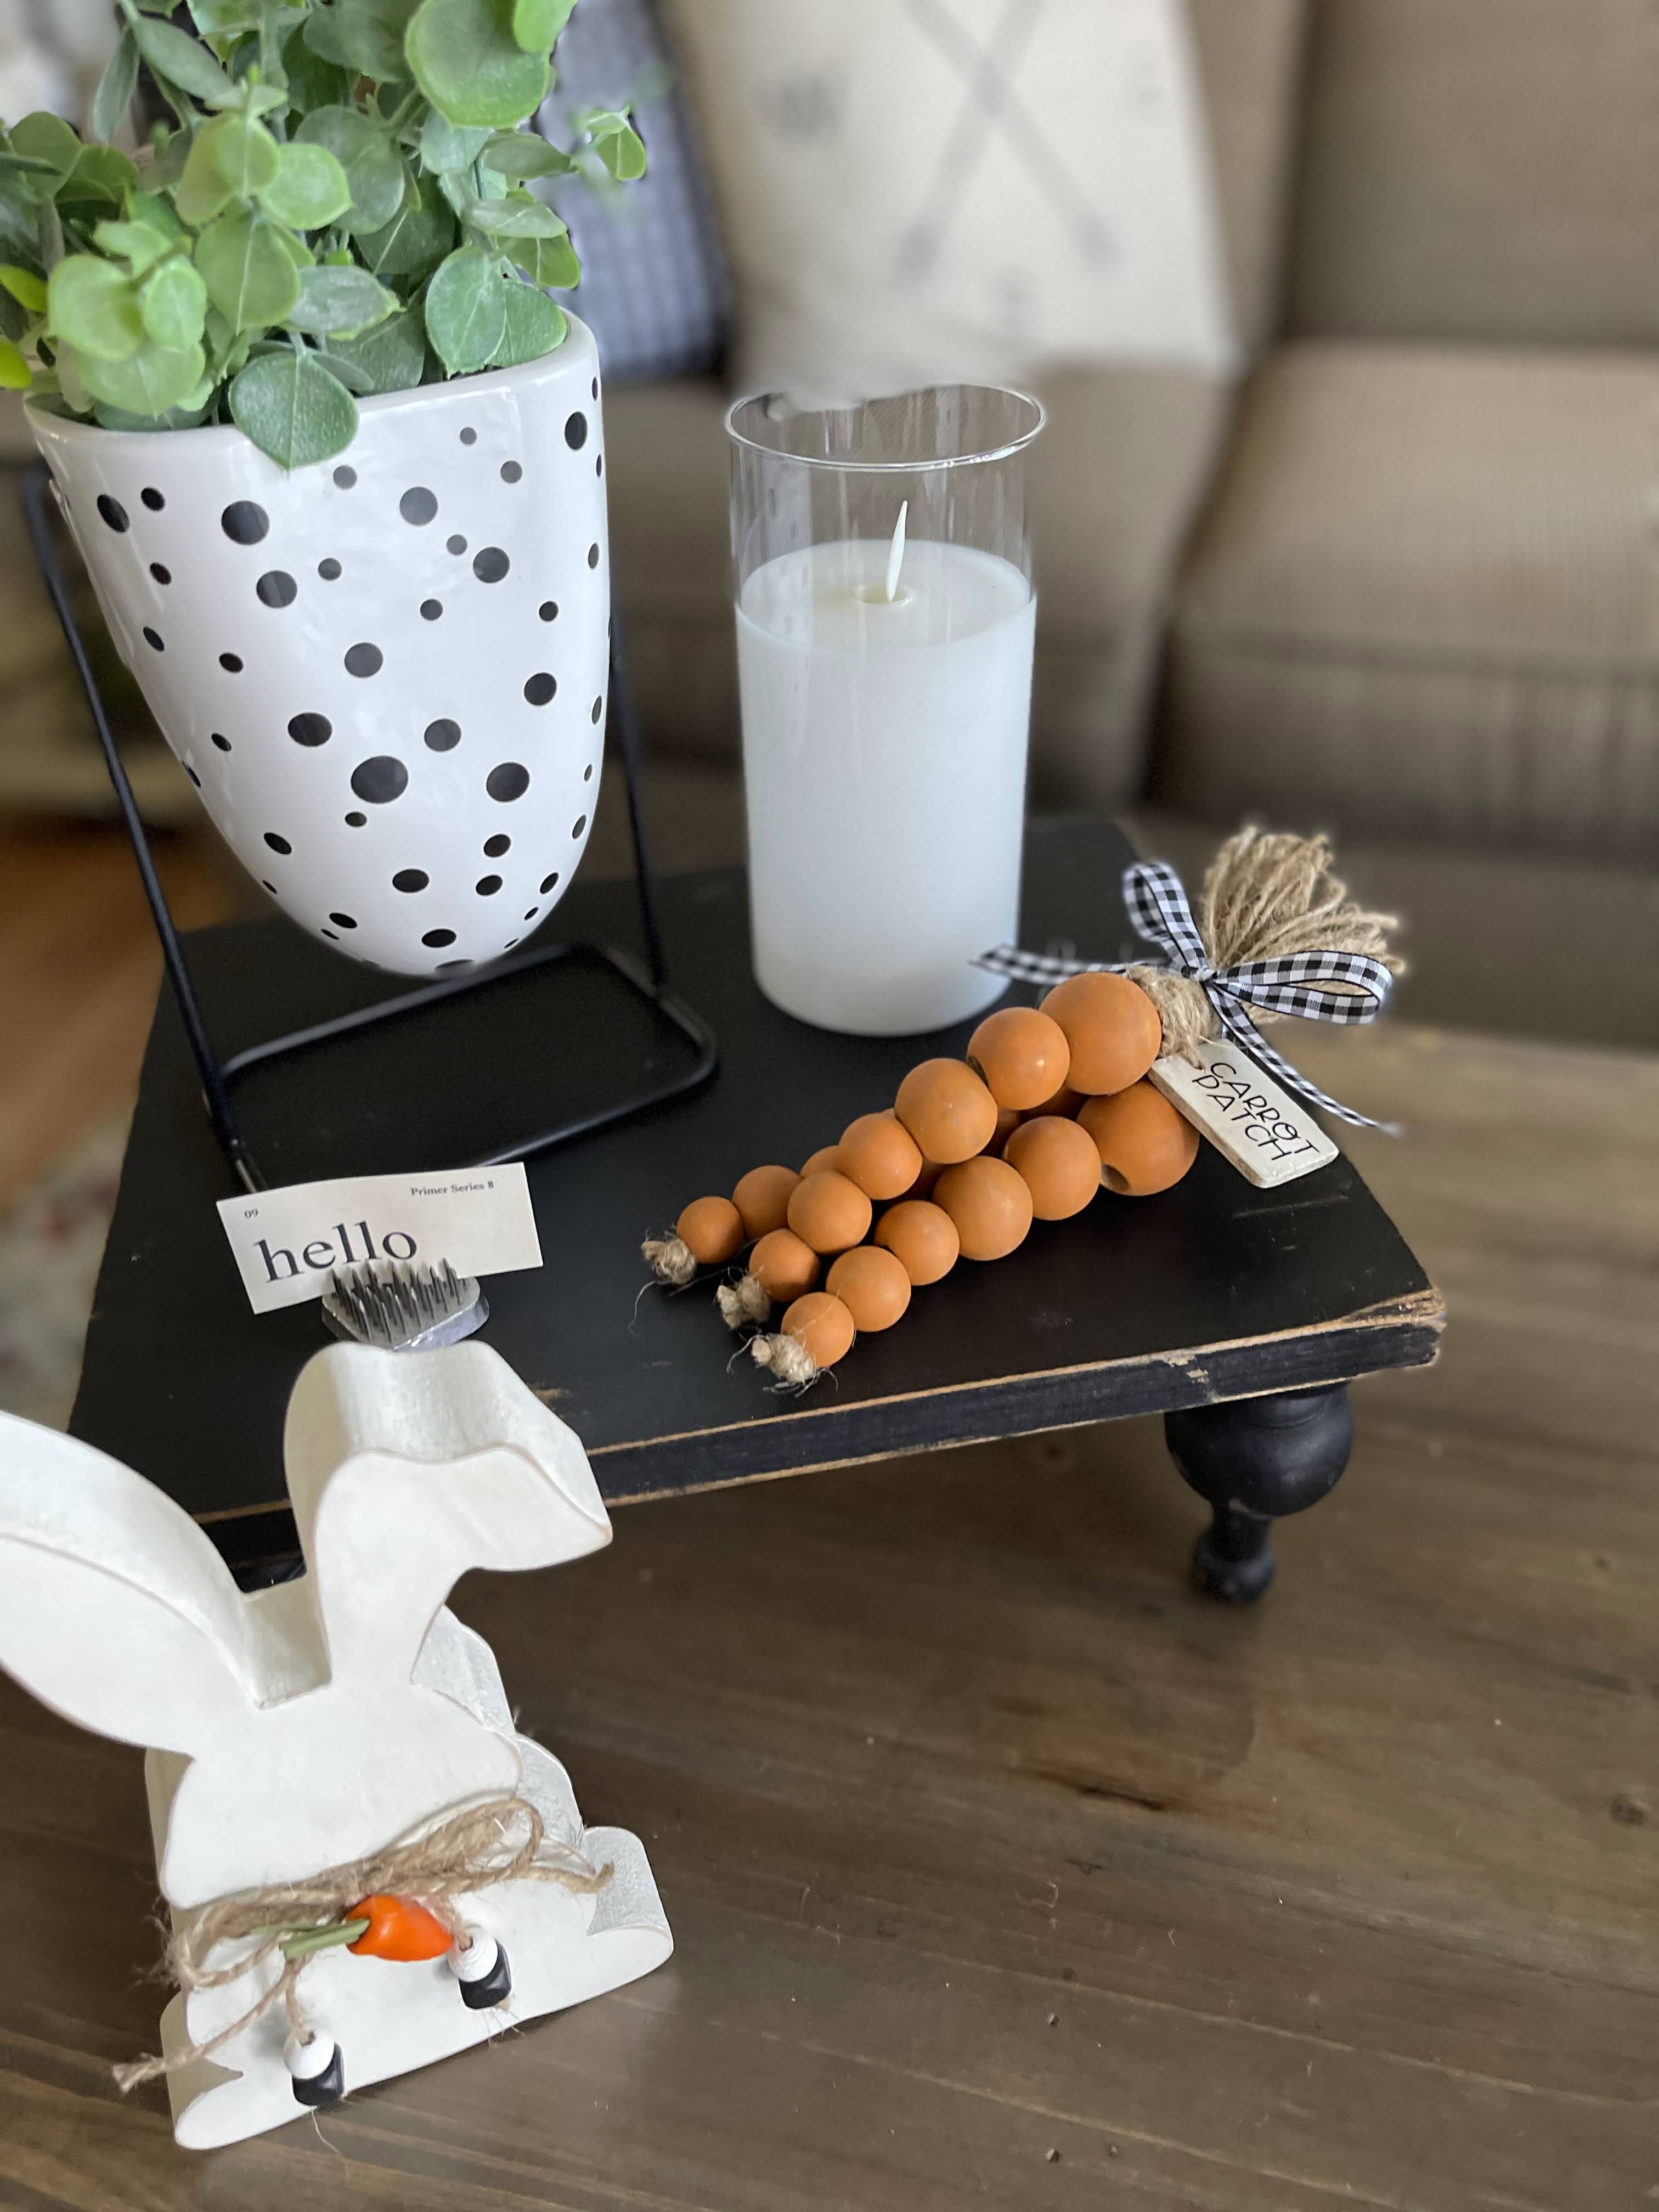
These lanterns are from a local gift shop and have my favorite flameless candle in them...Luminara.  They look so incredibly real!  If you haven't seen them or tried them you should.
 
The wooden crate in the corner is from La-Z-Boy and stores blankets in it.  The candle holders are from a flea market and I painted them white to make them pop.

Thanks for stopping by!  Now I'm off to curl up in my favorite spot to read a book on this rainy day.