Thursday, February 13, 2014

. . . Valentine's Day Chocolate Chip Cake Batter Sprinkle Cookies and a free treat tag . . .

I know this is a very last minute post for ♥Valentine's Day♥ but it's worth making these cookies any time of year so I wanted to share how you can adapt them for any occasion.  Also, if you are like me there are a lot of times that you are rushing to find something cute to make right before the upcoming holiday or occasion and these are your cookies!  I made these cookies once before but didn't change anything like I did this time around and they were great both times.

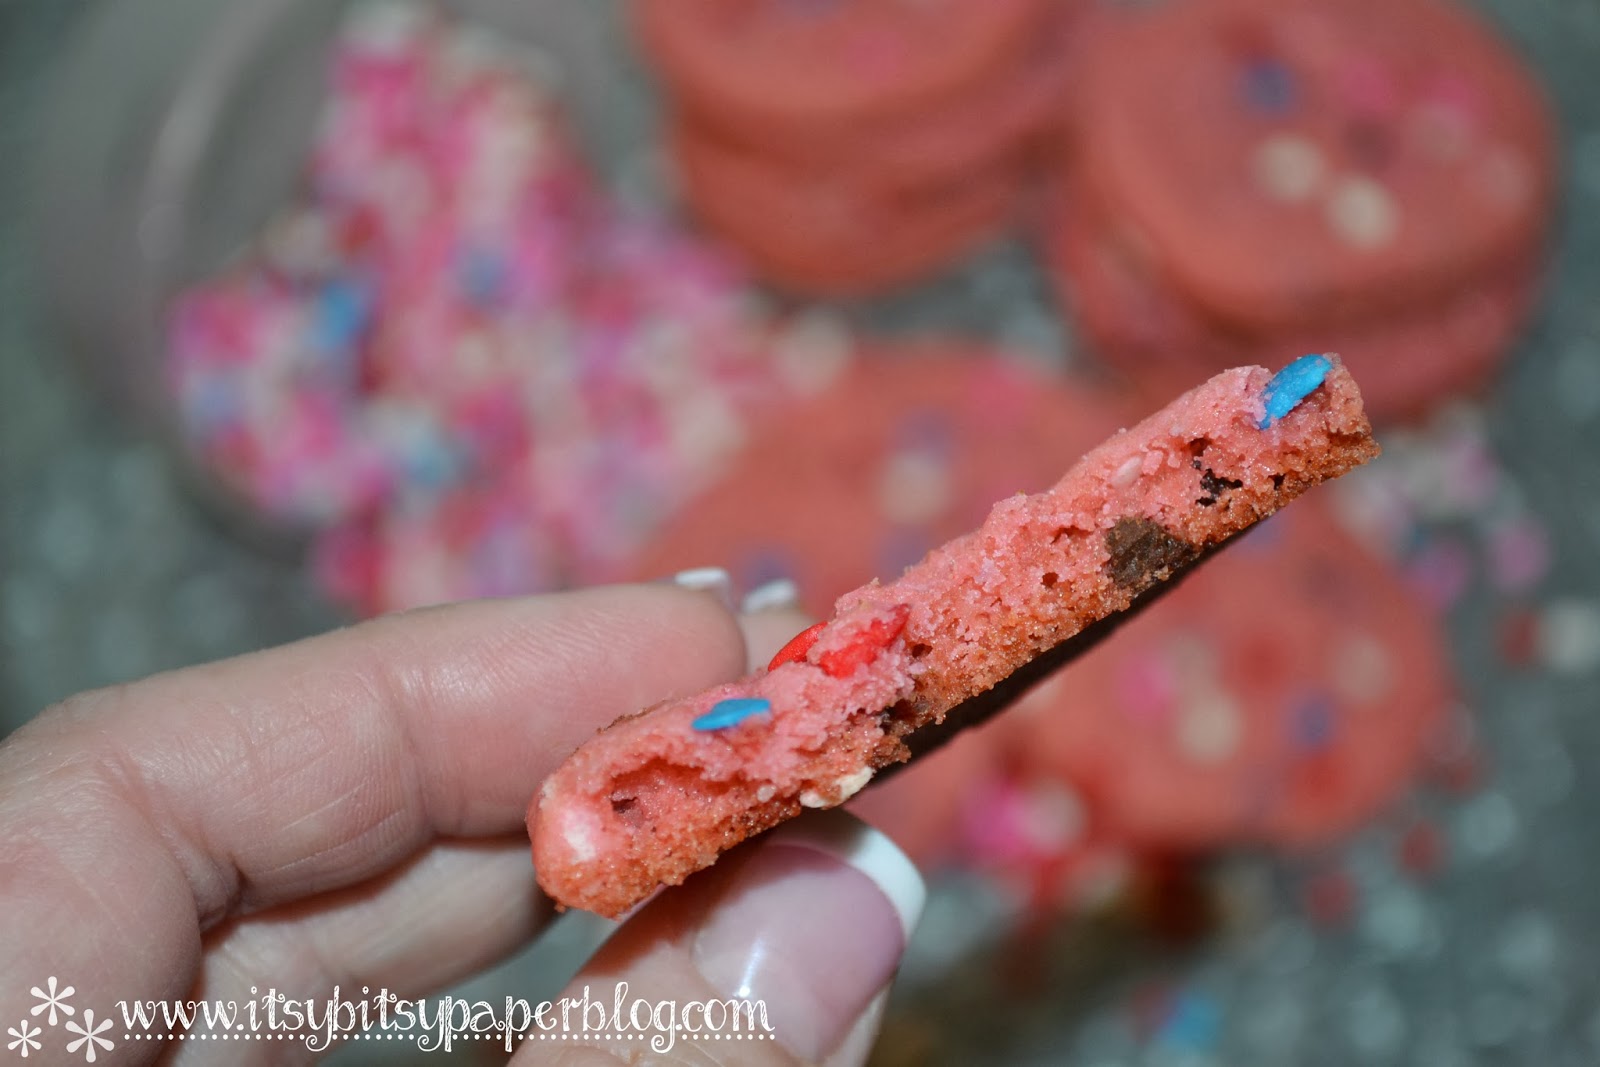
I am supposed to take cookies for my son's class celebration for Valentine's Day and even though my Hot Pink Chocolate Chip Cookies are one of my most popular posts I wanted to make something a little different for the kids. I remembered that I had made these Cake Batter Chocolate Chip Cookies before and figured it would be so easy to just change a few things and have the perfect Valentine's Day Cookie.  These have such a great vanilla flavor and are both chewy and crunchy.  

Add a cute tag saying "You are one Sweet Cookie...Happy Valentine's Day" and you are all set for the last minute treats you might need.  You are in ♥LUCK♥ because I just created a cute tag for you to download for free and attach to your cookies.  Scroll to the bottom to download.  Enjoy!

. . . You will need:
2 1/2 cup all-purpose flour
2 1/2 cup yellow or vanilla boxed cake mix
1 teaspoon baking soda
3 sticks butter, softened
1 cup white sugar
1 cup light brown sugar
2 large eggs
3 teaspoons vanilla extract
1 cup mini chocolate chips
1 cup shaped sprinkles or plain sprinkles
In a large bowl combine flour, cake mix, and baking soda then set aside.

In a separate bowl cream together the butter and sugars until fluffy. Mix in the eggs and vanilla until nice and creamy.

Add the flour mixture to the wet ingredients and mix until just combined.  This is going to be very sticky but don't overmix it.  If you are using food coloring this is where you would add it.  If you want the cookies to be bold in color I highly recommend the Gel Food Coloring from Wilton.  It makes a big difference in the intensity of the color.  I used Rose Pink this time but you can use any color to work with your occasion.  Once food coloring is mixed in add the chocolate chips and sprinkles.

Cover bowl and refrigerate dough for at least 1 hour.  You won't want to skip this step because it makes a huge difference in the way your cookies turn out.

Preheat oven to 350 degrees. Line two large cookie sheets with parchment paper or silicone baking mats.  Form dough into 1 inch balls and place on baking sheet.  **Sally's Baking Addiction recommends shaping your cookie dough balls to be "taller" than they are wide but I don't find that this makes a big difference.  Place a few sprinkles and chocolate chips right on top of the cookies to make them look extra colorful when baked.  It's worth the time to do this so you can actually see the pretty colors of the sprinkles.  Bake for 10 to 12 minutes but make sure you don't over bake them.  Mine were perfect at 11 minutes but every oven will vary.  You want the centers to look soft, but the cookies will set up more as they cool.

*Be sure to keep the cookie dough chilled in between batches. 

Recipe adapted from Sally's Baking Addiction.  She is pure genius and I highly recommend her blog for wonderful recipes!

 In a large bowl combine flour, cake mix, and baking soda then set aside.  In a separate bowl cream together the butter and sugars until fluffy. Mix in the eggs and vanilla until nice and creamy.
Add the flour mixture to the wet ingredients and mix until just combined.  This is going to be very sticky but don't over mix it. 

 If you are using food coloring this is where you would add it.  If you want the cookies to be bold in color I highly recommend the Gel Food Coloring from Wilton.  It makes a big difference in the intensity of the color.  I used Rose Pink this time but you can use any color to work with your occasion.  Once food coloring is mixed in add the chocolate chips and sprinkles.

This is a box I bought at Michael's and it has 12 different colors of gel in it.  I also buy them individually in the cake decorating aisle if I don't have the color I need in this box.

Once food coloring is mixed in add the mini chocolate chips and sprinkles of your choice.  For Valentine's Day I used Heart Shaped Sequin Sprinkles but you can use any sprinkle you choose.

Once you have refrigerated your dough for at least an hour you will roll cookies into a ball or a tall ball shape and bake at 350 for 10 to 12 minutes. **It is worth placing a few sprinkles and chocolate chips on top of each cookie so they look extra pretty once they are baked.

 . . . Pretty in PINK!
 . . . Valentine's Day Chocolate Chip Cake Batter Sprinkle Cookies. . .
. . . Holy Yummy, Batman!

Monday, February 10, 2014

. . . white wine sauteed mushrooms . . .

I am ah-bbb-sessed with these mushrooms.  Mushrooms are one of my favorite things to eat but let me tell you now that I have made these several times they are my go to when I want them as a side dish.  So yummy and they have a little bit of a tang to them because of the wine and lemon juice or Balsamic Vinegar.  They also get this nice glaze over them thanks to the butter.  Yum!  I think you are going to really enjoy these.

 You will need:
3 tablespoons extra-virgin olive oil
1 package whole white mushrooms, wiped clean
2 tablespoons butter
Salt
1/2 tablespoon minced garlic
1 tablespoons lemon juice OR a splash of Balsamic Vinegar
1/4 to 1/2 cup white wine

 In a large skillet, heat the oil over medium to high heat. Add the mushrooms in a single layer. Do not move the mushrooms until they have caramelized on the bottom--this is an important step if you want them browned nicely. If you toss them too soon, they will get too watery and will start to steam instead of browning. When the bottoms turn brown toss them and continue to cook for about 5 minutes.
 The hard part for me is to not touch these while they are browning but believe me it is worth it so resist the urge to mix them around.

Add the butter. Cook and toss for 5 minutes, until the mushrooms are nicely browned. 

Season with salt and add the minced garlic. Saute another 2 minutes to 3 minutes.  Add the lemon juice and white wine or if you are using balsamic in place of lemon juice do that now. 
 
 Simmer until the liquid starts to evaporate and you get a glaze.

I don't let all the liquid evaporate because I like them a little saucy but you can do it the way you like them.  I know you will love these!

I usually serve these with burgers from the grill and a baked potato but they would be great with just about anything!  I find that I have to double the recipe so I have plenty of leftovers.


Tuesday, February 4, 2014

. . . On The Go Breakfast with Jimmy Dean Pancakes & Sausage on a Stick . . .

This post is part of a social shopper marketing insight campaign with Pollinate Media Group™ and Jimmy Dean, but all my opinions are my own. #pmedia #onthego http://cmp.ly/3/8vNxcO

Every night when I tell my son goodnight I ask him what he wants for breakfast the next morning.  It may seem silly but he is picky and doesn't always want the same old same old and if he has something more than once or twice a week he's bored so I stress over it.  I don't want him going to school hungry and I also want him to eat something somewhat healthy.  I stress that he will be hungry at school and I stress that the teacher will think I'm a bad mom and then I stress that she'll call child services and I will have to explain that I really am trying to be a good mom...oh yes, I mean it when I say I stress over it.  Worry is my middle name.  That all being said I am so excited about Jimmy Dean's Pancakes and Sausage on a Stick because my son loves them and they are SO EASY!

 We picked up a box of these from Walmart in the frozen food section of the store in the Breakfast Food area.  As soon as my son saw them he was all over that box like white on rice!


I love how these come individually packaged with the directions printed right on the package!   This makes it super simple for my son to make them himself.  Storing them in the freezer is easy too because I can eliminate the box since the instructions are on each package.

 I heated one of these up in less than 1 minute and put the only two kinds of fruit he eats on a plate and I felt like a really good mom.  I knew for sure I wasn't sending him to school hungry!

 We liked these dipped in some syrup but honestly they were really good without it too.  For mornings when we have to eat on the go they will be perfect without syrup.

He doesn't really have a happy face at this age so this is as good as it gets!  Ahhh the teenage years are quickly approaching and we are getting a preview of what's to come.

 Doesn't that look so yummy with that warm syrup!  You will for sure be wanting to keep these as a staple in your freezer.

A very successful breakfast for sure and besides, who doesn't love food on a stick?

Next time you are at Walmart be sure to hit the frozen breakfast food section and pick up a box of Jimmy Dean Pancakes and Sausage on a Stick!

Follow Jimmy Dean:

 
This post is part of a social shopper marketing insight campaign with Pollinate Media Group™ and Jimmy Dean, but all my opinions are my own. #pmedia #onthego http://cmp.ly/3/8vNxcO.

Saturday, January 25, 2014

. . . Painted Chest of Drawers . . .

I am really not sure how long this chest of drawers has been in our family but I can tell you it's been a really long time!  I also can tell you it's probably been painted about fifty million times.  It first started out in my sister's room when we were little and it was painted purple, then it came into my room and it was painted pink and pale blue with hand painted flowers on the front, then when my husband and I bought our house we painted it two shades of plum purple for our spare bedroom, then when our son was born we painted it pale blue and navy blue and NOW it's lime green and pale blue.  I don't know where this chest was bought but I am so glad it's lasted all these years and is so adaptable to being painted any color we choose.

Recently we did a makeover on my son's room, which was long overdue!  He is 11 now and we hadn't painted since we decorated his nursery and believe me it was time.  Anyway, we did the walls pale blue and orange and the bedding is green so I decided this chest of drawers needed another coat of paint and why not do the drawers a different color so it is more fun!  I used a bright green paint for the dresser itself and then used a pale blue for the fronts of the drawers and then brought it all together with the bright green drawer pulls.  At first I thought it was too big of a contrast but now that it is in his room I love it.  

This just proves that a little paint can make anything new again! 

• • •

 As you can see this chest of drawers was really beat up so it was more than ready for some paint to revive it.  I first sanded the entire chest and the drawers as well and then I chose to use a Glossy finish to the paint so it'd be easy to wipe down and it would add a little more pop to the room.

 I used Behr Semi-Gloss paint for both the dresser and the drawers.  The green is called Japanese Fern and the blue is called Misty Surf.  I panicked at first because I thought the green was going to be way to bright but after it dried I loved it and really want to paint something else with this color.  I think it would look so funky to have a cabinet or a big dresser painted in this color for the pop in a room.  Once the frame of the chest was painted I then painted the drawers the pale blue color and then painted the knobs the same green.  I am sorry I have no photos to show you but I was so anxious to get the project finished I forgot about pictures.  Ooops--bad blogger!

 Finished and Love it!  It's just the pop this little area needed.

 Perfect for a boys room!

 My aunt gave us this piggy bank back when our son was born and he loves it.  We thought maybe he would want it put away since he's older now but he sure didn't.  He was like, "Um, no" when we asked if we should put it away now.  Guess it's because we fill it all year and then let him cash it in for summer vacation money.

And, done!
Easy as can be but the paint certainly made a big change!

Featured at:

Friday, January 24, 2014

. . . Simple Tulle Valentine's Day Wreath and Tulle Puffs Tutorial . . .

I am starting this post out a little differently than usual but I just have to get something off my chest about my little blog.  I am wondering if anyone visits my bloggity blog anymore? 

In reality I see my Google Analytics and know for a fact that people are coming by but I never receive comments anymore and my followers never increase anymore and my subscribers stay at the same number month after month.  I'm beginning to feel like the last kid picked to be on the team in high school gym class and that is not a good feeling to have.  

I know I have gotten really slack about posting regularly so I take the blame for that but a big part of that is because I wonder if I am reaching my readers that used to come by all the time.  I get a lot of my inspiration from my readers leaving nice comments and without reader interaction I have to wonder if I am connecting with my followers.

That all being said, I love cooking and baking and being crafty so I will always be puttering around doing something and I do really enjoy blogging about it.  I also love having a blog for my son to always have a record of what his mom was up to when he was young and it's a great way to document my passion for cooking and crafting but I just want to make sure I am reaching my readers too.  I am not pouting about this and more than anything I really want to make my readers happy with what I am sharing. 

• • •

Ready for that wreath I told you about in the title of this post?  Here you go...

I love making a wreath out of scrap yarn but I have done them so many times I was bored and wanted to figure out another fun and easy way to wrap a wreath form.  I use Tulle ribbon all the time for wrapping up orders of stationery and packaging gifts so I have a plethora of it and just so happened to have lots of red and pink and then grabbed some purple and white as well.  I used the same technique as the yarn wreath and just took really long pieces of each color tulle and started wrapping the wreath form until I reached the end and attached it with a floral pick.  Then I made the tulle puffs and attached those with floral wire and used my handy dandy E-6000 Glue and attached the X and O hearts.  Those XO hearts were from a garland I had from last year and had never used so I figured this was perfect for them.

  Easy Peasy right? Also, very festive with the traditional Valentine's Day colors!

 You will need:
Styrofoam wreath form
Lots of tulle in any colors you choose.  You could even do this in all one color if you wanted.
Floral Wire
Glue
Floral picks or anything you can use to attach the tulle to the wreath form
any extra embellishments you might want to add to your wreath

 Wrap your entire wreath with your tulle.  Because I did 4 different colors it gives it an almost ombre type look which I love but you could use as many or as few colors as you want.  I used little floral picks to attach my tulle to the wreath at both the start and the end.  They look almost like little bent paper clips and you can find them in the floral section of the craft store.  They are so nice to use for crafting.

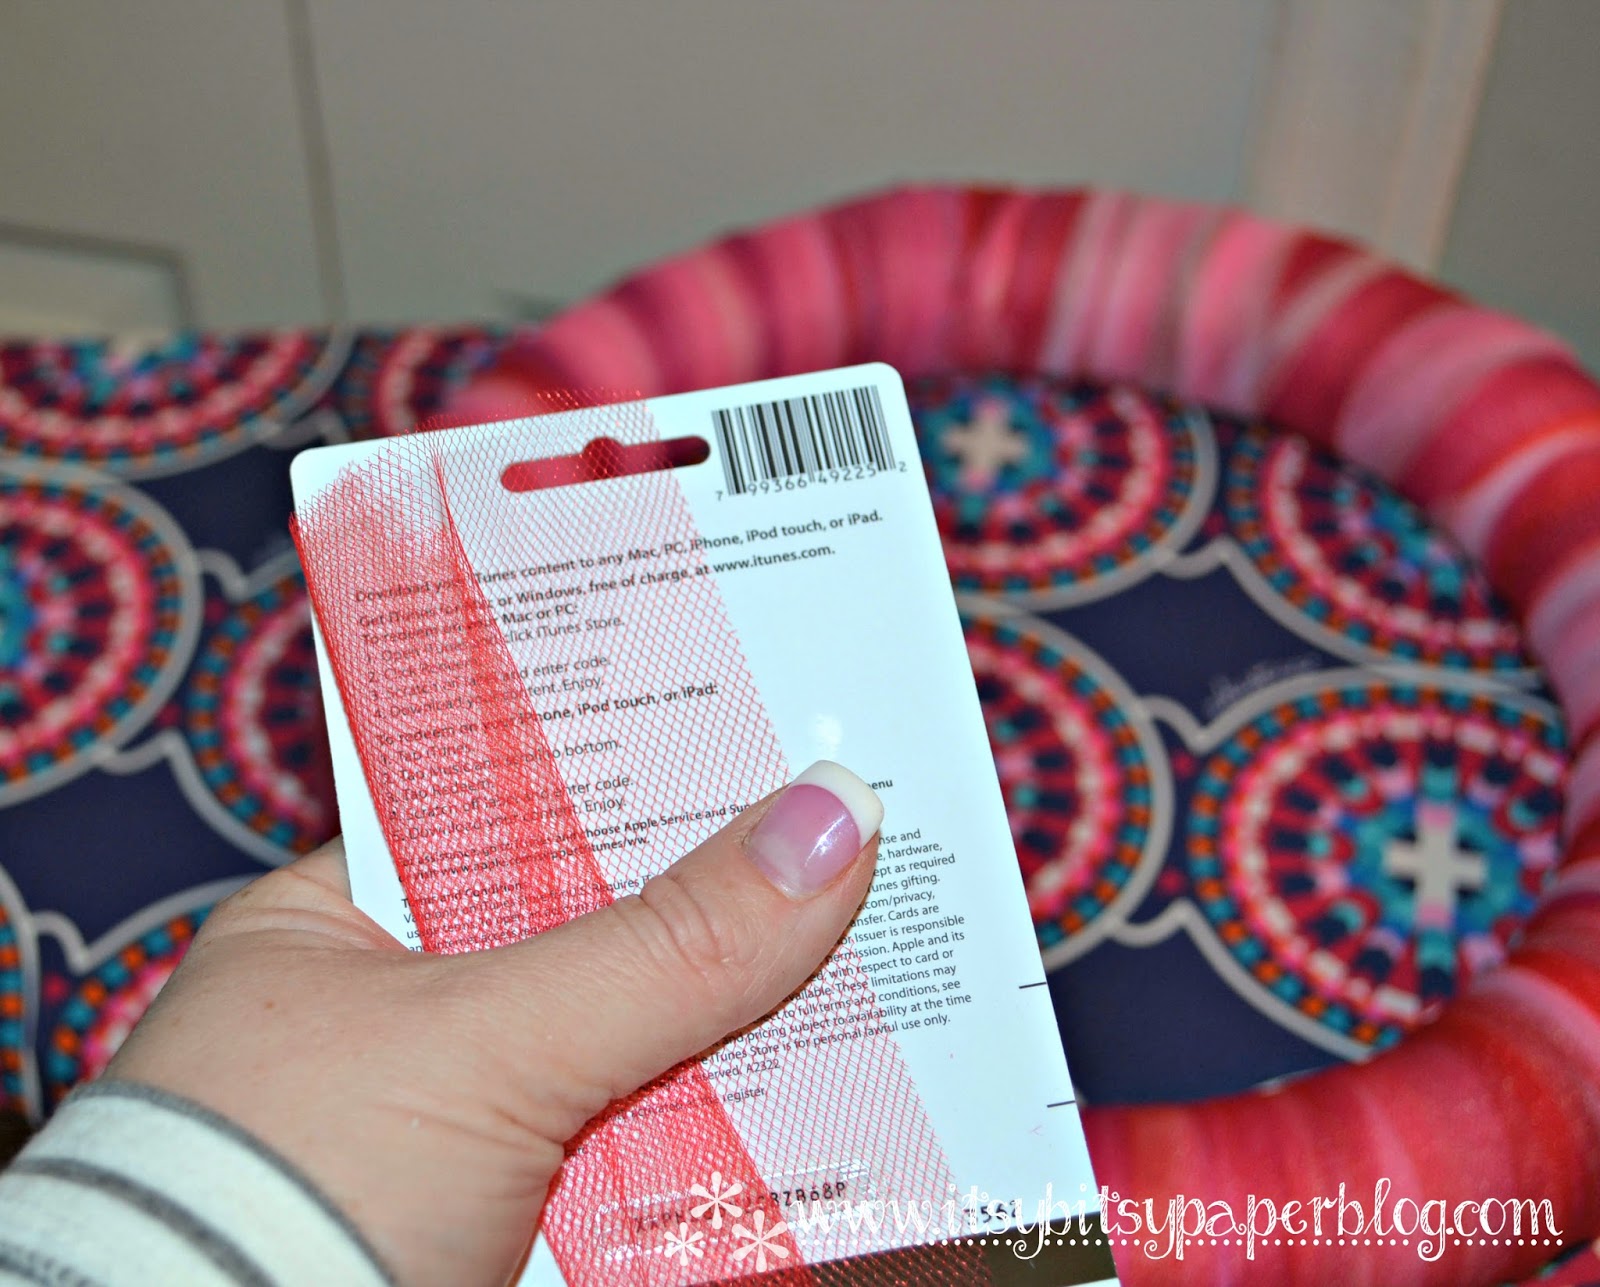
 To make your tulle puffs you will need about 3 yards of tulle and a piece of cardboard that is about 4 or 5 inches long.  I use an iTunes gift card because it's stiff enough to not bend when I wrap it with the tulle and it makes the perfect size puff for a project like this or wrapping gifts.  The more tulle you use the fuller the puff will be and if you use a different size cardboard it will change the size of your puff as well.  

Take one end of your tulle and place it on top of the cardboard or gift card in my case and just start wrapping it until you reach the end.  You want to and with both the beginning and the end piece in about the center of your cardboard so when you tie it together you will easily catch both ends.  It's not the end of the world if you don't catch them but you will want to try to.
 Now, you will slide your wrapped tulle off the cardboard as carefully as you can so it won't all unravel.  Make sure to hold the end pieces when you are doing this step.

 This is a terrible photo because I apparently focused on the wreath instead of the looped tulle but I wanted to show you how I hold it right before I tie a piece of tulle around it.

 Here is where you will take a small piece of tulle and tie it right in the center really tight and make sure you catch your end pieces.  Then once you've done that stick your scissor blade into the end loops and just cut the loops in half.  Do this to both ends and then just start to separate the tulle and fluff it up until you get the desired look you want and then use it to wrap packages or embellish your wreath.  

 I then placed my X and O hearts onto the wreath and used E-6000 glue to attach them.

 Now you will attach your tulle puffs using floral wire or even another piece of tulle to tie them to the wreath.  I used each of my four colors to create a big puff.

 Tada!  Finished

 Aren't those tulle puffs the best! I just love using them for fun things like this or gift wrapping.

XO to all of you!!  Happy Valentine's Day


Here is a bonus photo of how I use the tulle puffs in gift wrapping.  This one is made using 2 colors of tulle so as you can see it makes them a lot fuller.  Such a simple way to dress up packages isn't it?

Friday, January 10, 2014

. . . Crates into Bookshelf . . .

We are in the process of doing a room makeover for our son's room.  We haven't painted his room since it was a nursery and that was 11 years ago so it was time to get it repainted.  He wanted orange and I didn't but we made a compromise and decided to do the walls orange below the chair rail and a pale blue above the chair rail.  We are all very happy with how it turned out and I will be sure to post finished photos of his room soon.  

We have a million and one comics and books and no where great to store them so they have taken over the family room in piles and in baskets and I have had enough of that.  We just ordered new furniture for our family room and decided to straighten it up to get ready for that so I was trying to think of a way to store all these books without doing a boring old book shelf in his room.  I was cruising Michael's to pick up a frame when I saw the unfinished wooden crates and had a brainstorm to paint them and stack them for book storage.  I bought three and ran home and pulled out my white paint and go to work.  


My son couldn't be happier and we are too because we have all his books out of the family room!  The crates ended up serving three purposes which is an even bigger benefit.  They are book storage and an end table and even a charging station for his iPad and Beats Pill.  Love that they worked out so well!  It's always nice when a plan comes together.

You can't beat this super simple project.  You could paint them and line them up under a window if your space is tight.  You could stack them going the opposite direction for larger books and even store lots of other things other than books.  I for sure think you need to do this easy peasy project for your space!

 I think for safety reasons it would be smart to use an "L" bracket on the back of each shelf to hook them all together in case they would fall but honestly with the weight of the books these bad boys don't move at all.  

 So perfect for all his needs--books, charging and an end table all in one spot!

 I was amazed at how many books each of these crates held.  It was amazing how I kept adding and they had enough space.

 DIY Success!

 Love it!

Wednesday, January 1, 2014

. . . Happy New Year 2014 . . .

May the year ahead be your very best year yet!  Wishing you a very Happy New Year from Itsy Bitsy Paper!