I am so excited to have Haley, from The Autocrat Blog here today with this absolutely AMAZING Easter Egg Topiary! She has the best ideas on her blog and you will get so much inspiration when you stop over there. Leave her some nice comment love while you are there.
She also has a fantastic online shop over on Etsy--Haley Davis Etsy Shop. I just got my camera strap cover from her and it is fabulous and girly!
•••••
Hello Itsy Bitsy Paper readers! It’s Haley here from
She also has a fantastic online shop over on Etsy--Haley Davis Etsy Shop. I just got my camera strap cover from her and it is fabulous and girly!
•••••
Hello Itsy Bitsy Paper readers! It’s Haley here from
I am thrilled to be over here to share the tutorial for an
Easter Egg Topiary!
Easter Egg Topiary!
Supplies:
two styrofoam balls: 8” and 6”
7-8 packages of plastic eggs
Krylon’s Bahama Sea blue spray paint
brown, beige, dark blue craft paint
3 bags of moss
dowel rod at least 1/2”
hot glue gun and sticks
pot with floral foam
ribbon for accent
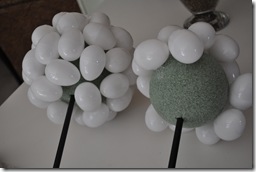
Hot glue eggs onto styrofoam balls.
The hot glue melts the styrofoam a little;
therefore you will have to hold the egg
in place for a few seconds. Be sure to mark
the center hole for the dowel in the bottom ball for the
top ball - you do not want an egg covering up that space.
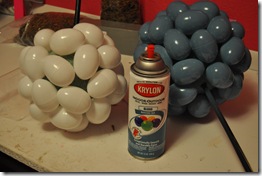
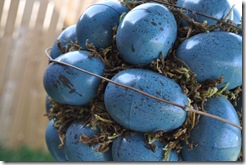
Spray paint eggs. I used Krylons, Bahama Sea.
It covered very well.
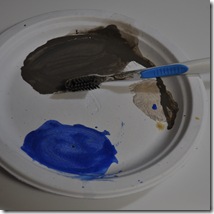
I used a toothbrush to splatter the eggs with
brown, beige, and dark blue. Dilute the paint a little
with water so it can “splatter” nicely. You can add
as much or as little as you want. After the splatter
I used a clear finishing spray over all the paint.
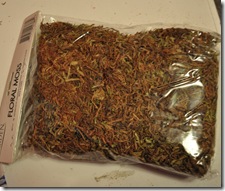
I purchased this moss at DT for only a $1
a bag. I used a little under 3 bags. I glued it here
and there; most of it stuck in between the egg
and stayed put.
I had some extra grapevine that I placed over the
eggs for a finishing touch. The grapevine added a little
extra touch to make it look more natural.
Place your painted egg balls onto your dowel
rods and then place into your pot.
I opted for a bow, but it looks good without one too!
This project takes a little bit of time, but it is
totally worth it. It really doesn’t cost that much either.
Hope you have enjoyed my tutorial. Hopefully, I have given you some
inspiration for your spring and Easter decorating.
Thanks for having me!








Super Cute ,Love this Idea.. It turned out beautiful Haley.
ReplyDeletethat is a great easter decoration! how creative!
ReplyDeleteI am so making this! Thank you for sharing! ;)
ReplyDelete